How to record a webinar
Learn how easy it is to record a webinar with GoTo Webinar.
Three reasons to record your next webinar
Done right, pre-recorded webinars can become an invaluable tool for meeting business goals like:
-
Widening impact
A pre-recorded webinar can be spread across a wider audience using email, social channels, and your own network. -
Training employees and customers
Reusable webinars can reduce your workload and encourage more frequent communication with customers and employees. -
Improving sales
Engaging online discussions could mean more high-quality leads for your sales team.
First, choose a recording-friendly webinar platform
Not all webinar recording software is created equal. GoTo Webinar lets you skip the second-party screen recorder, so you can schedule, create, and share recorded webinars with one simple tool.
Record a webinar in session in four simple steps...
Record a webinar on a Mac or PC automatically, or control recordings manually in four easy steps:
-
1. Start your session
While in session, start the broadcast and share your screen. -
3. Stop your recording
When you’re finished, select Stop Recording in the Screen Sharing pane. It is that easy! -
2. Set up your recording
GoTo Webinar has recording abilities built in so there is no need to download an external screen recorder. Simply click Start Recording (Windows) or Record (Mac) to begin the recording of your screen. If you’re recording locally, you’ll need at least 5 GB of available hard drive space. -
4. Edit and share the recording
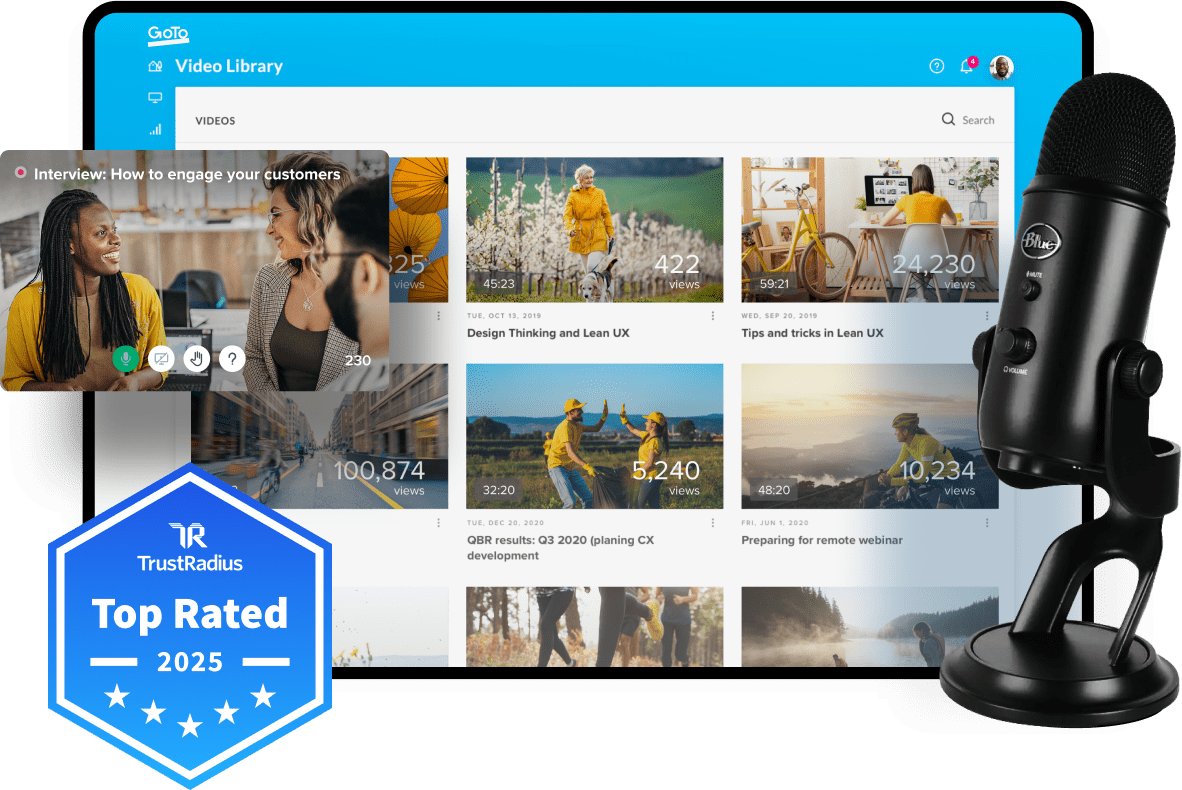
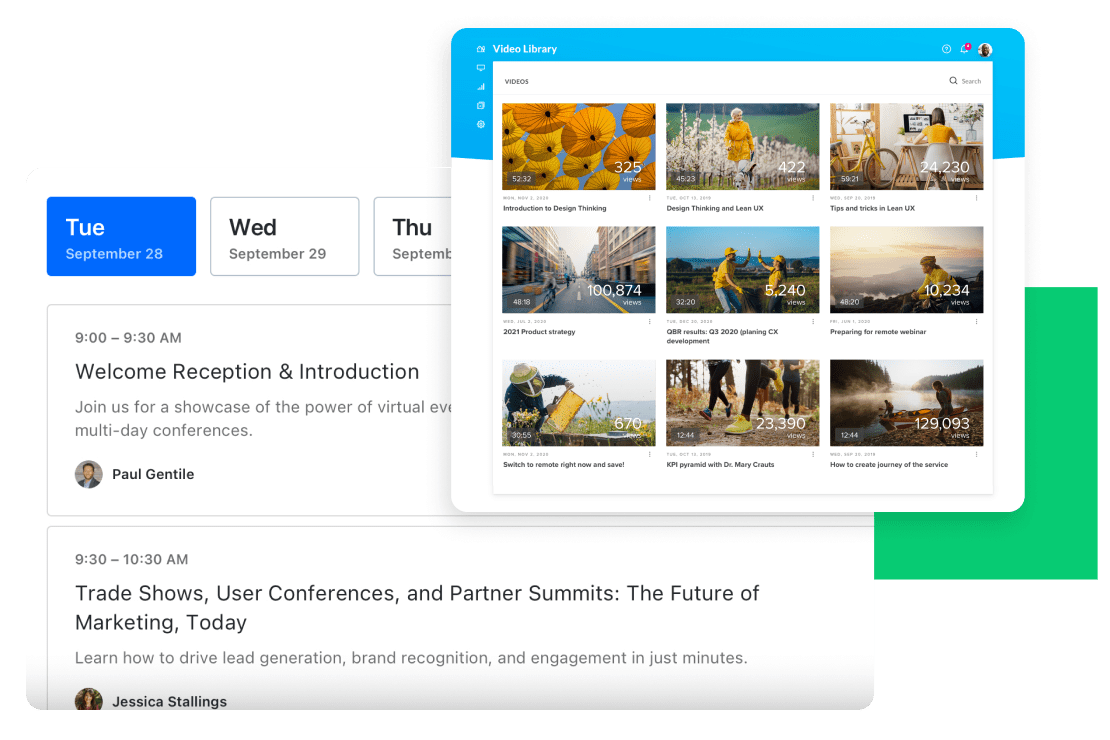
When you end your webinar, you will be directed to your Video Library. Once the video is done saving, click on the video dropdown to download, edit, or share it.
...or plan ahead with scheduled webinars
Reduce stress with recorded webinar content that feels like a live event.
Automate everything
Reuse your recordings
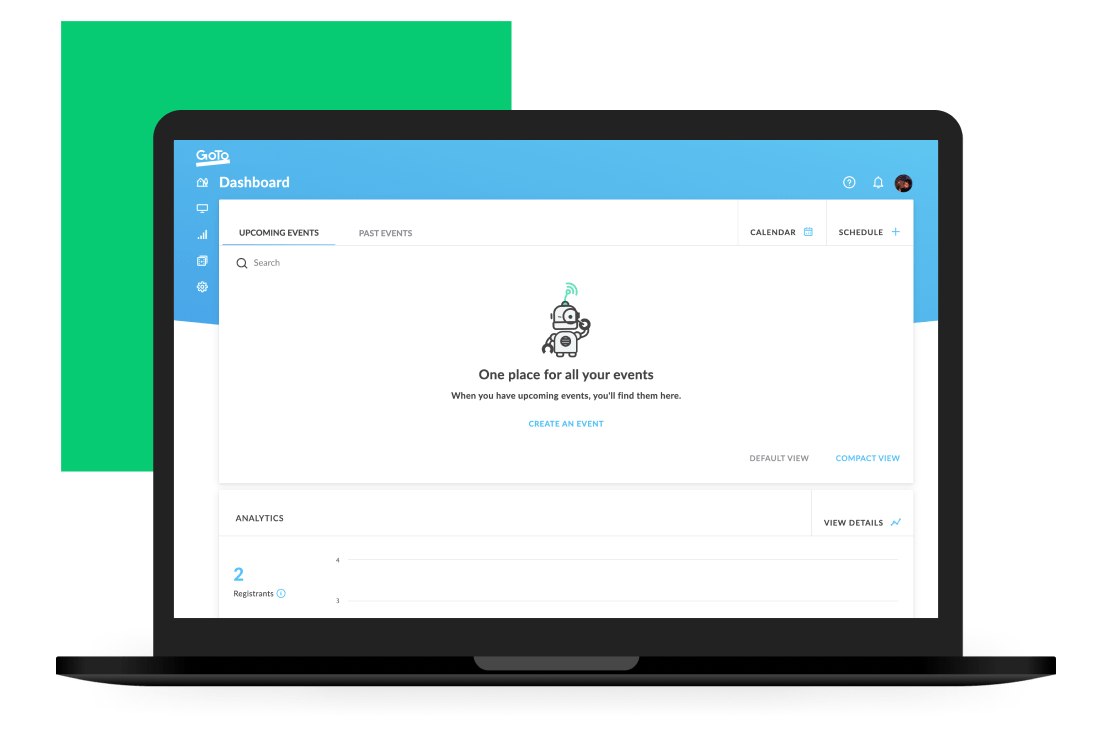
Want to keep using pre-recorded content? Just select Recorded Events. Pick the recording you want to use, schedule it to auto-play (or make it available on demand) and then sit back and relax.
Experience the award-winning difference
Voted Best Feature Set, Best Value, and Best Relationship in VoIP by Trust Radius in 2022
Get answers to all of your webinar questions
To save your webinar recording with GoTo Webinar, do the following before your webinar:
1. In Settings under the Recording drop-down menu, choose where recordings are saved. Select the “My Recordings” option to automatically save your recordings to your online account in the My Recordings page. Select the “my computer only” option if you prefer to save your recorded sessions on your local hard drive.
2. Check the “Show webcams in recordings” box if you’d like to capture the shared webcams in addition to the shared content and audio. Note that this option is only available for online recordings and increases the file size.
Record webinars on your computer in the following ways:
1. Enable auto-recordwithin your GoTo Webinar settings.
2. Click Start Recording (Windows) or Record (Mac) at the bottom of the Screen Sharing pane during your live webinar.
To pre-record a webinar with GoTo Webinar, you can use Recorded (formerly called “Simulated Live”) webinars. First, host a Classic or Webcast webinar and record like you were presenting live (you don’t need to have anyone in attendance). Then schedule a new webinar and select Recorded as the webinar type. Choose the recording you just created, select a date and click Schedule Now. You can even incorporate polls, add handouts and configure Q&A settings to make it feel as vibrant as a live event!.
If you want to record what you share on screen during a GoTo Webinar session, simply click Start Recording (Windows) or Record (Mac) at the bottom of the Screen Sharing pane.
If you would like to record your presenters’ webcam , select the “Show webcams in the recordings” box within your GoTo Webinar settings. And finally, if you want to capture the video clips that you share live during your event, make sure that the video you upload ahead of time is an MP4 file. Any YouTube video you add will be cut from the recording.